

Making A New Chisel Handle For Tired Hands

I have another blog due for Fine Woodworking Magazine about modifying tools for arthritis and chronic pain. I think this time I will talk about my favorite chisel handles and make a new one. I used to use chisels in the Stanley pattern, but made by Lee Valley/Veritas. They were very nice, but the fancy modern steel was hard to sharpen and the small handles never felt right.
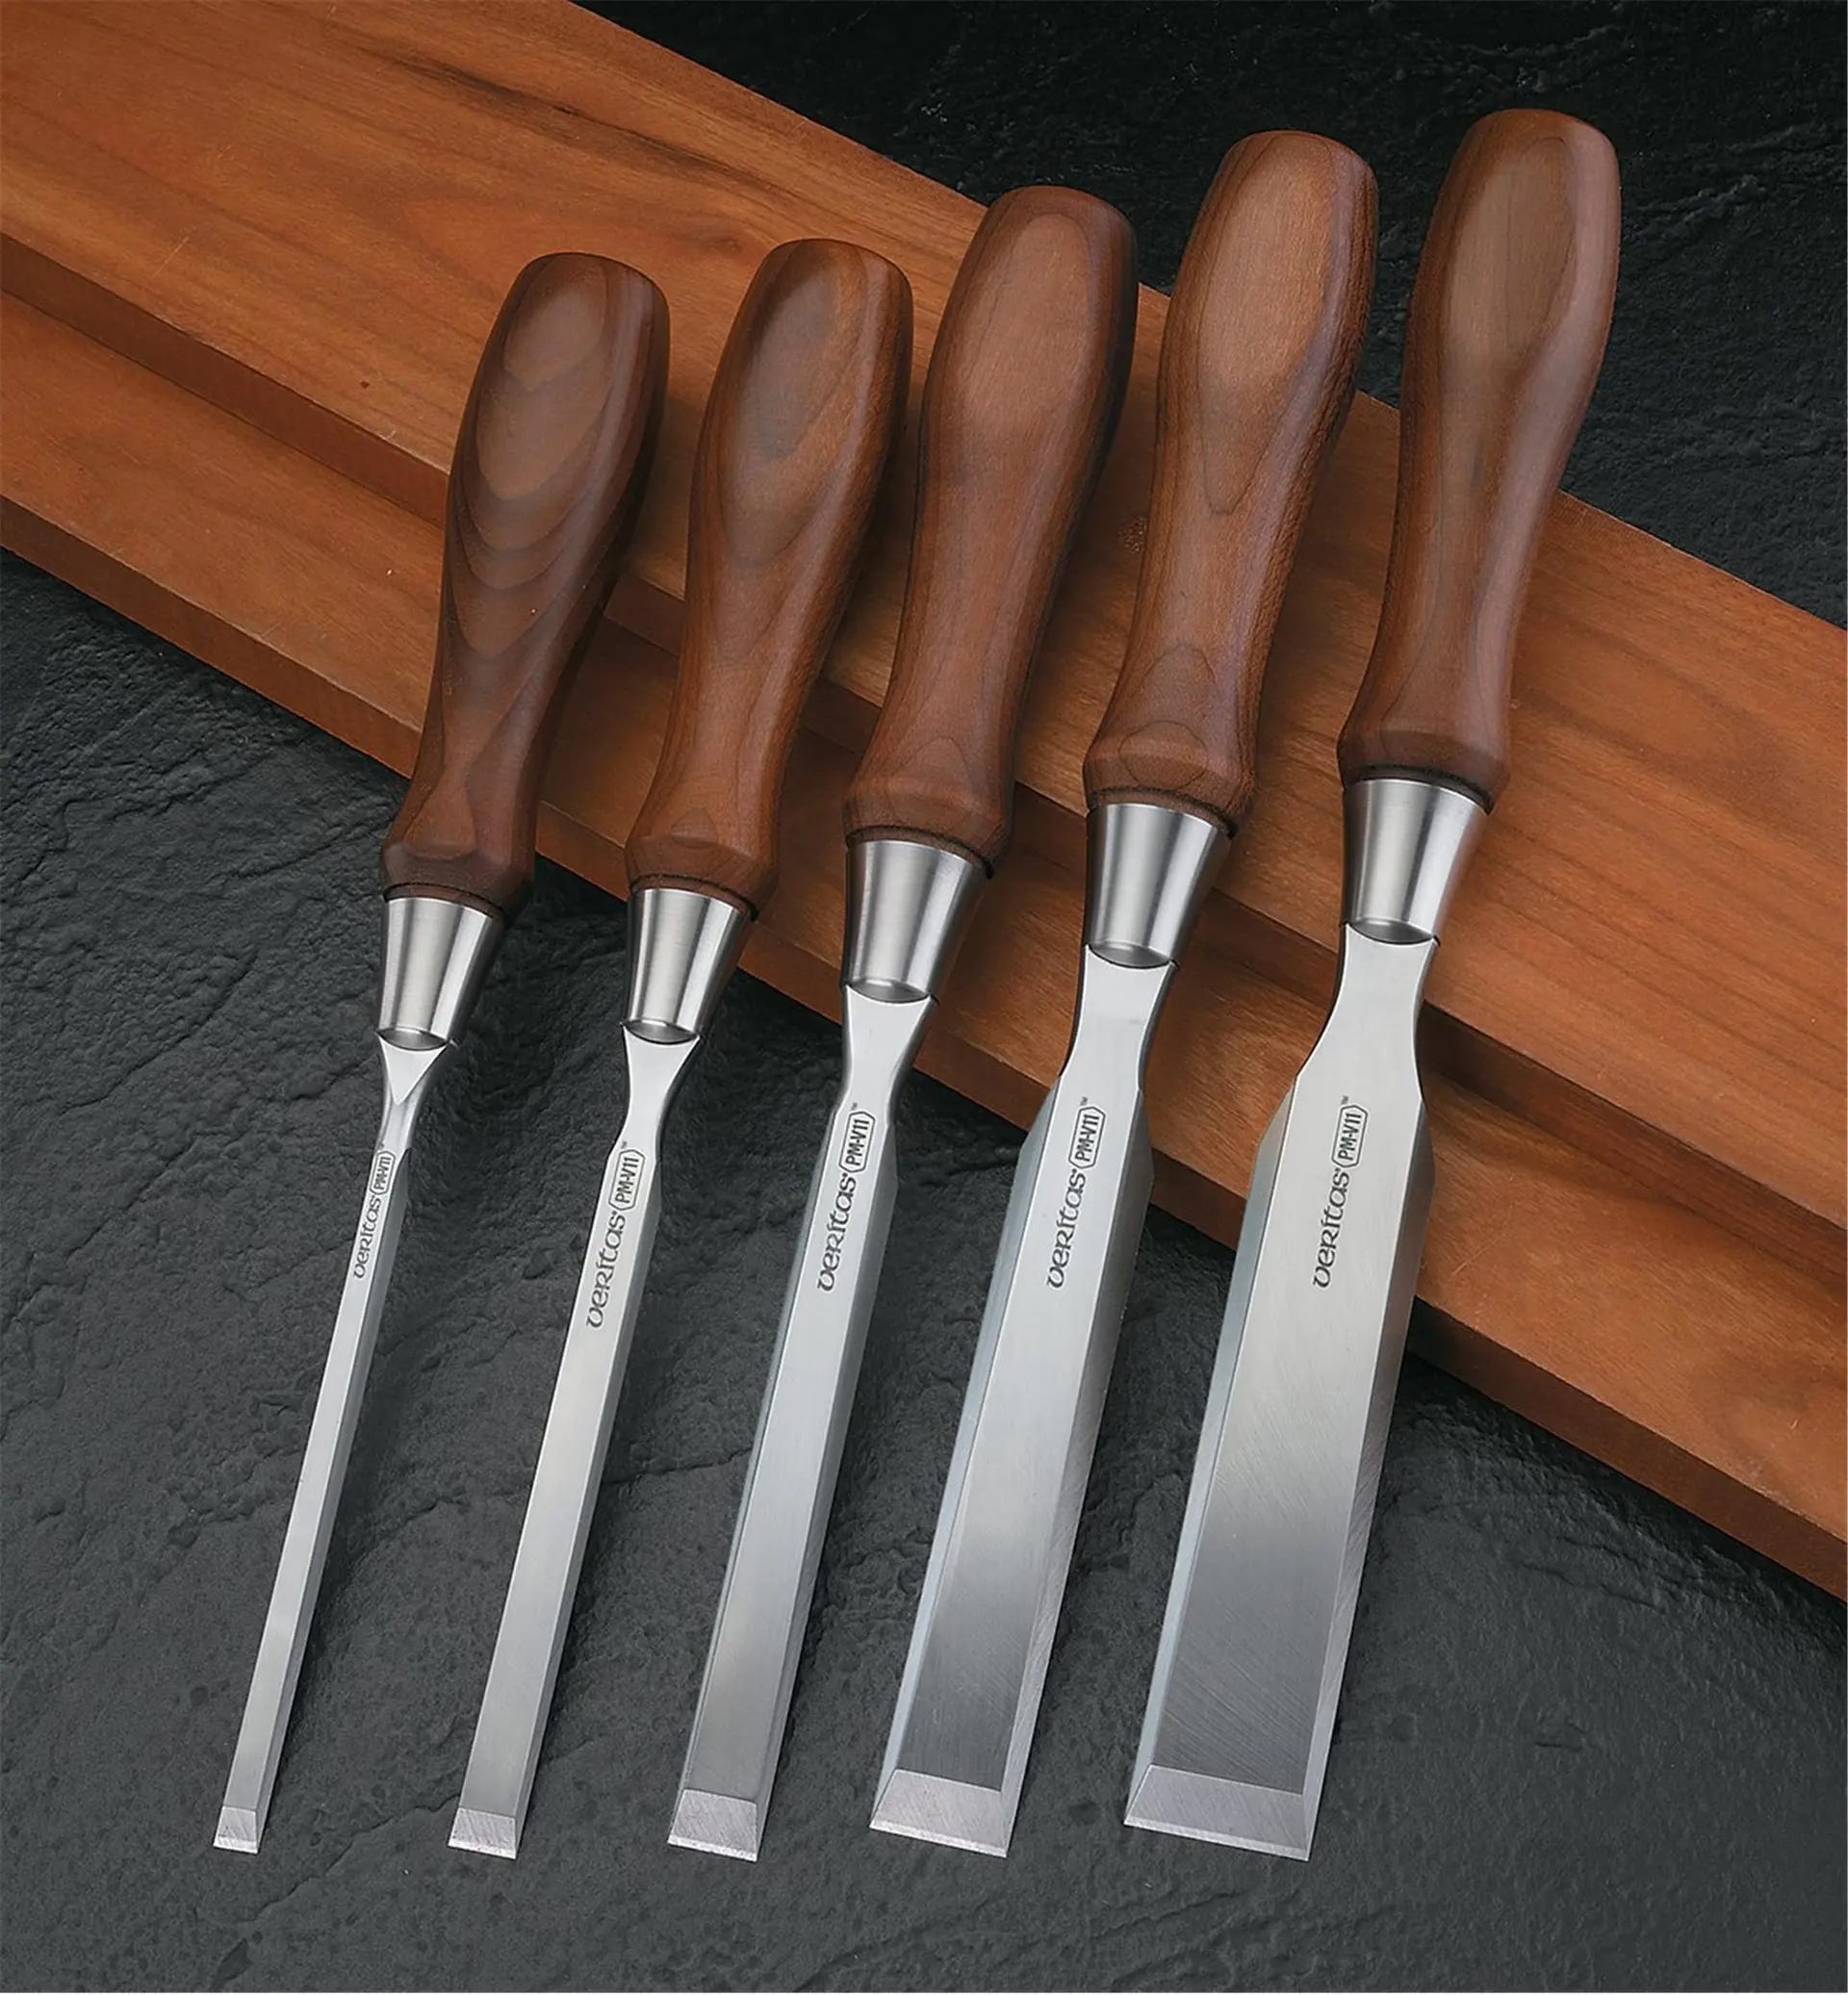
The swell in the handle up near the blade is supposed to stop your hand from sliding up and give you a registration area for your leading finger. I thought these were fine for me until I held an old Ward chisel that belongs to my friend and fellow builder Ben Bonham. Ben is British and inherited some old tools from his father, who was also a builder. When I say “Ward,” I don’t mean the American “Montgomery Ward,” but instead the Sheffield firm of Ward and Payne. Ben’s chisel had a big, symmetrical handle that just felt right to me. It was similar to this model below:
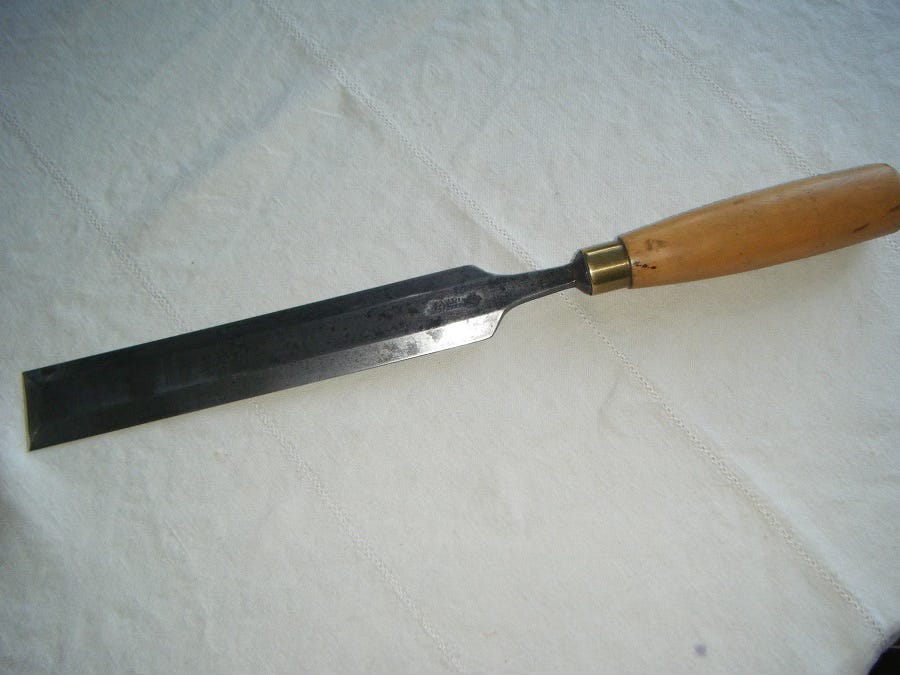
I did some research and noticed that there are many chisels made by multiple makers, all from the Sheffield region of England, that are similar to this. They are a bit hard to find in the US, but I bought up many over the last two years, from Facebook groups, eBay, UK tool dealers and even from a charity shop when we were in the UK last summer. I really like these chisels for three reasons: 1) The big handle with a swell in the middle is more comfortable for my tired hands to grab. 2) The lack of a front swell makes it easier to choke up on the handle and grasp near the blade, important for my close up luthier type work. 3) The old steel is generally really good, and much faster to sharpen than the Veritas super steel.
These UK chisels are a tang style chisel, with a spur or tang coming off the blade that sinks into the handle. A metal ring called a ferrule surrounds the tang to stop the handle from splitting. This style of chisel is rare in the US, where most chisels are held onto the handle with a conical socket.
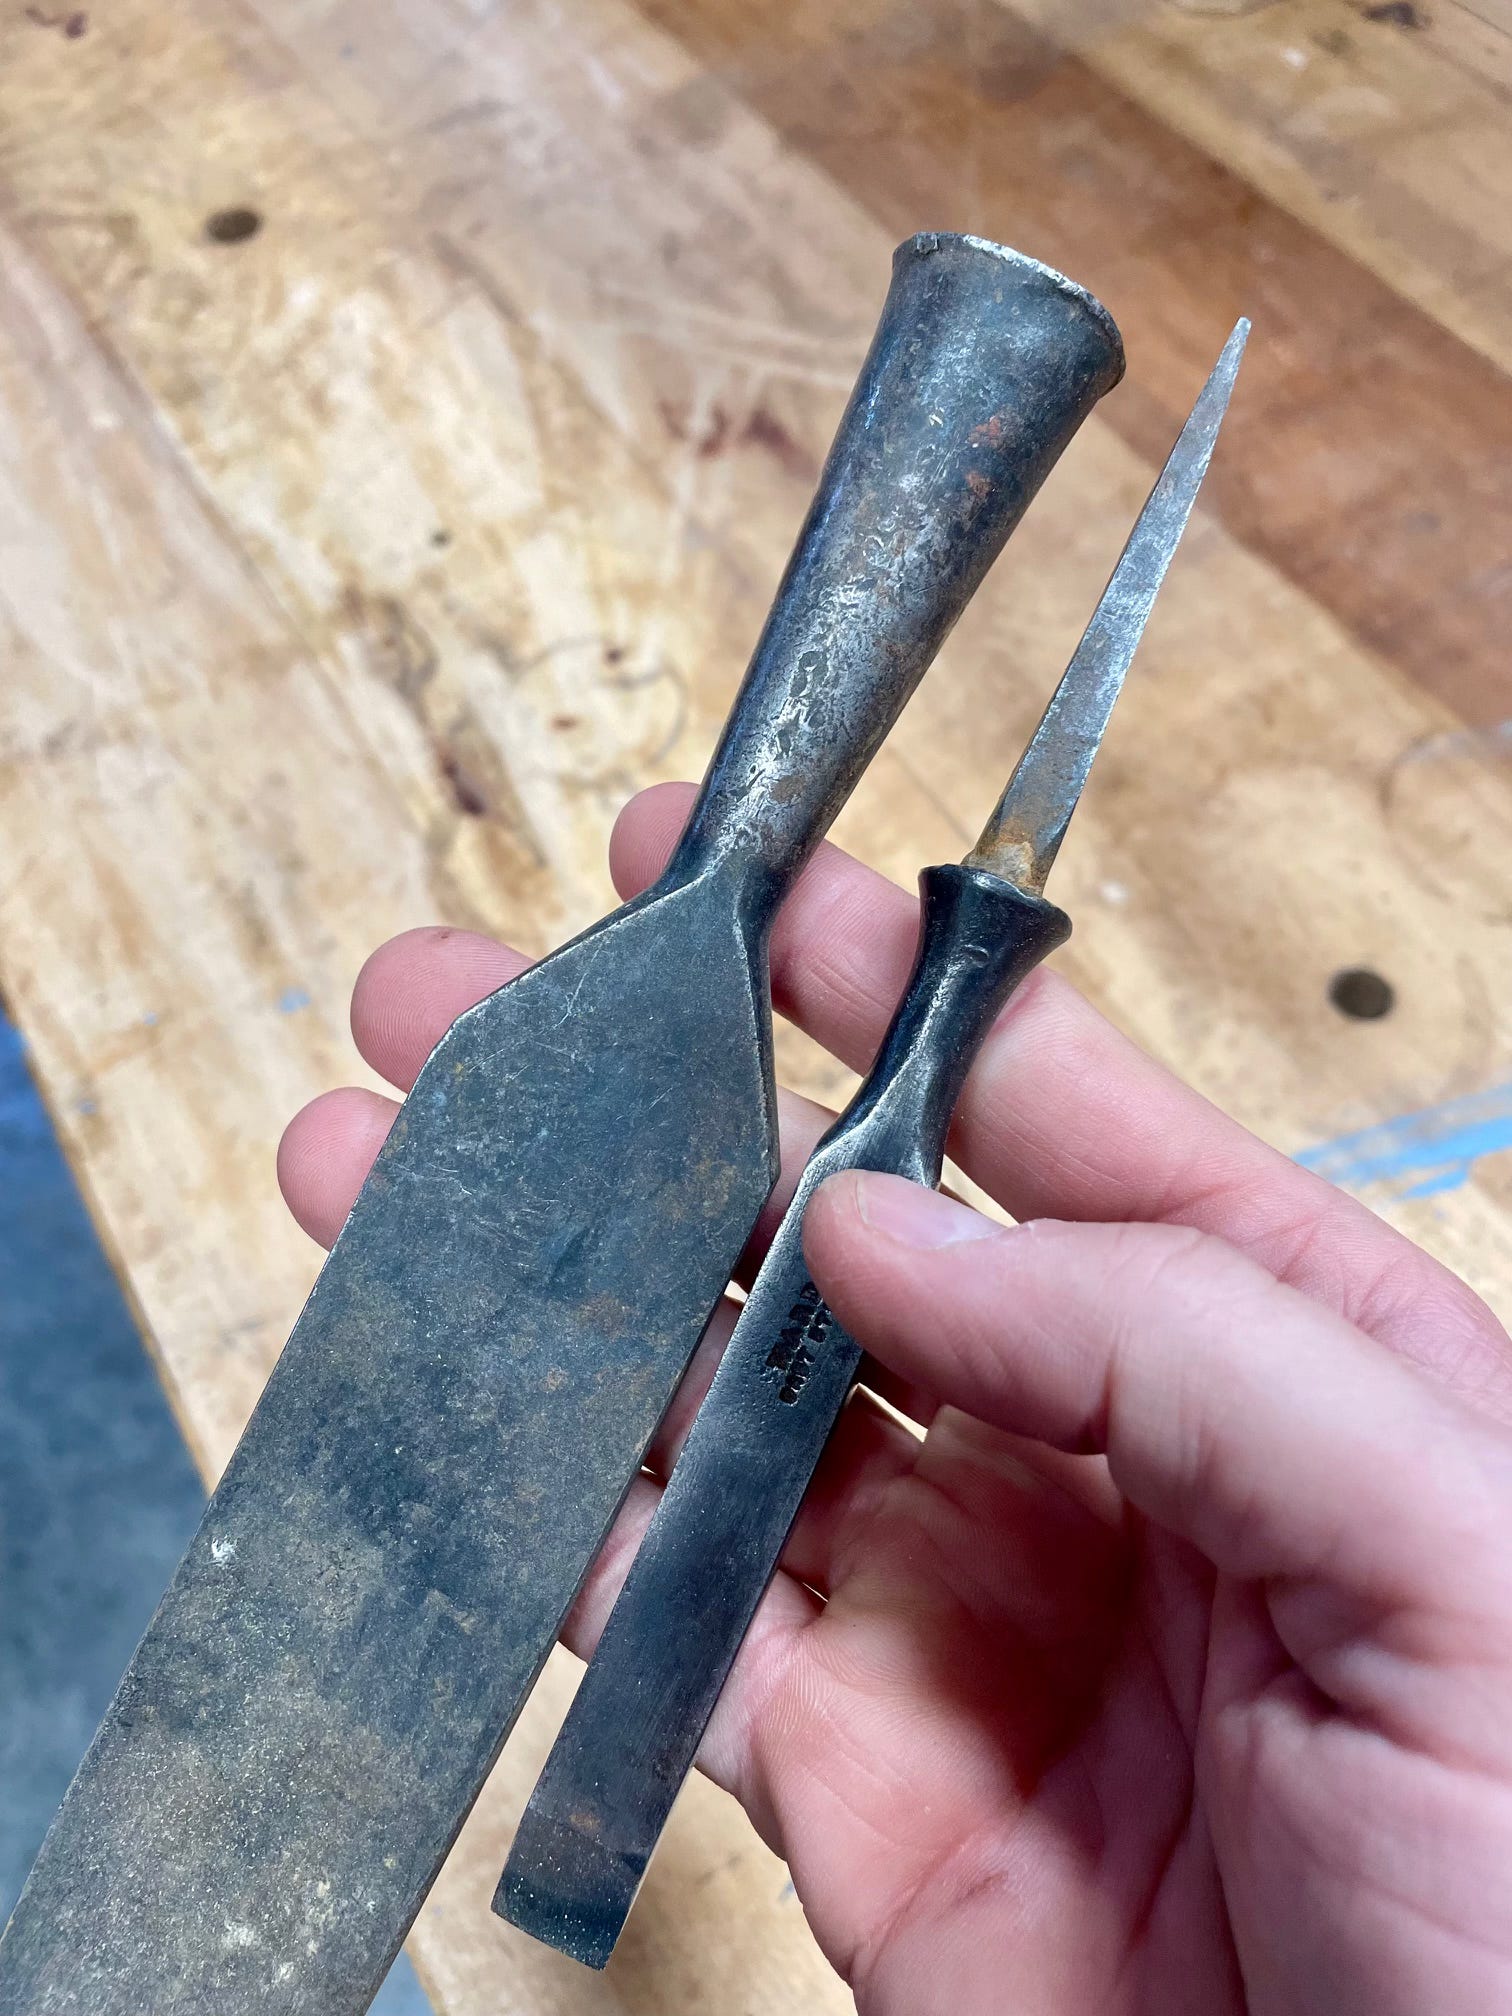
Socket VS Tang
Over time, I have gravitated towards the handles that are a little oversized on these tang chisels. For today’s project, I will make a handle for each style of chisel, but about 10% bigger than the norm.
The first step is to grab a scrap of Mahogany and plane the corners off before it hits the lathe.
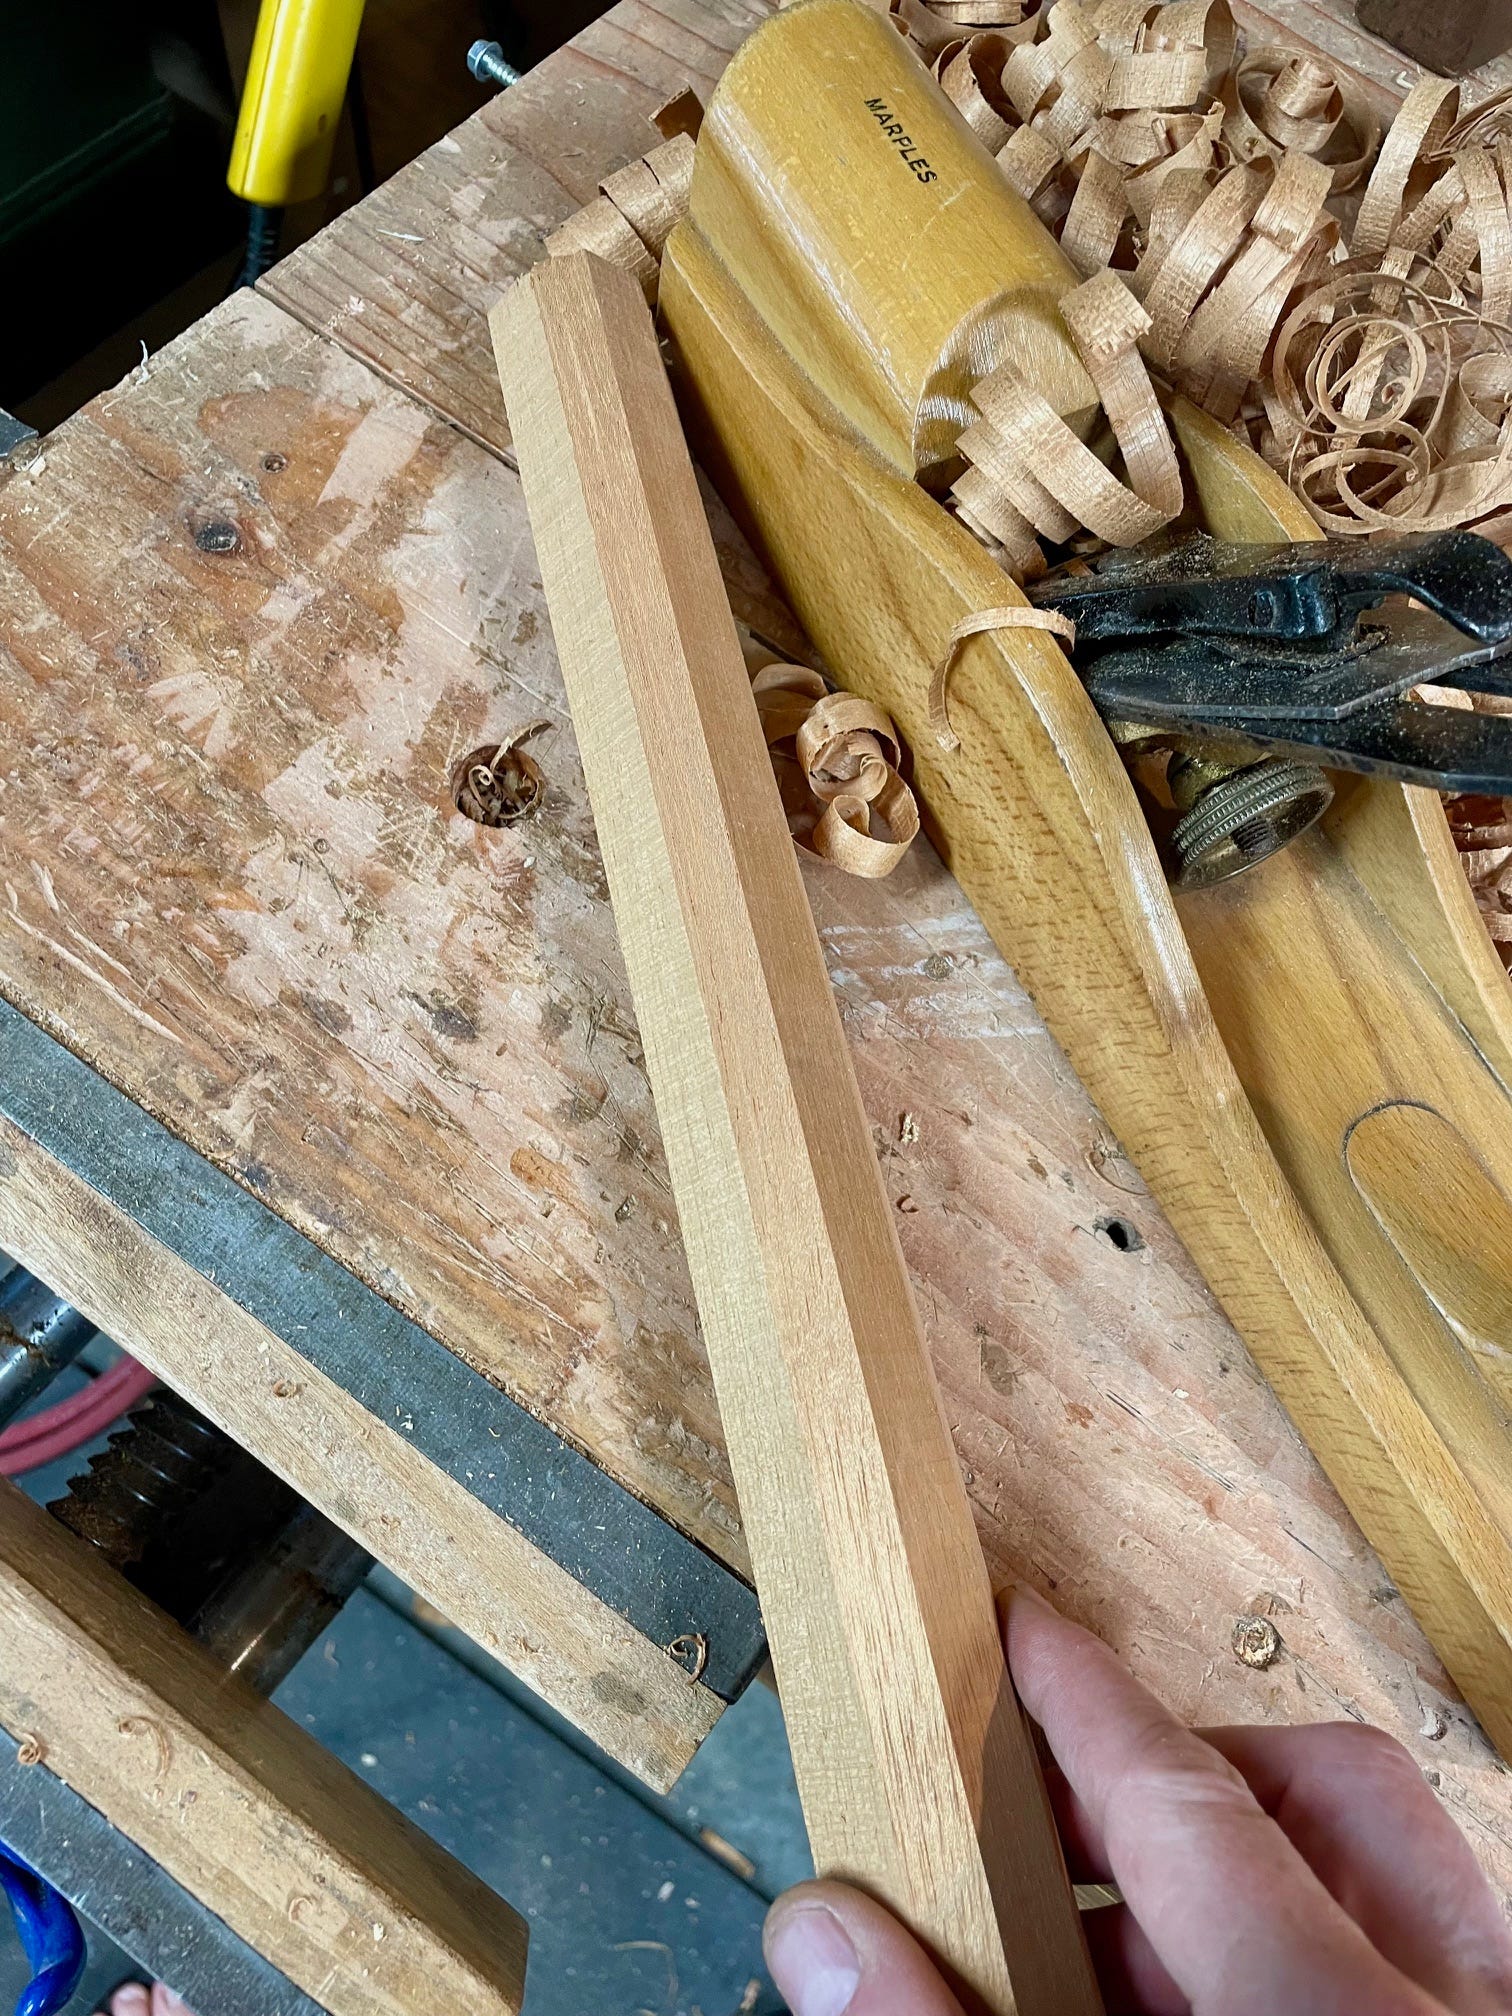
I then lock the piece onto the lathe and roughly turn it round.
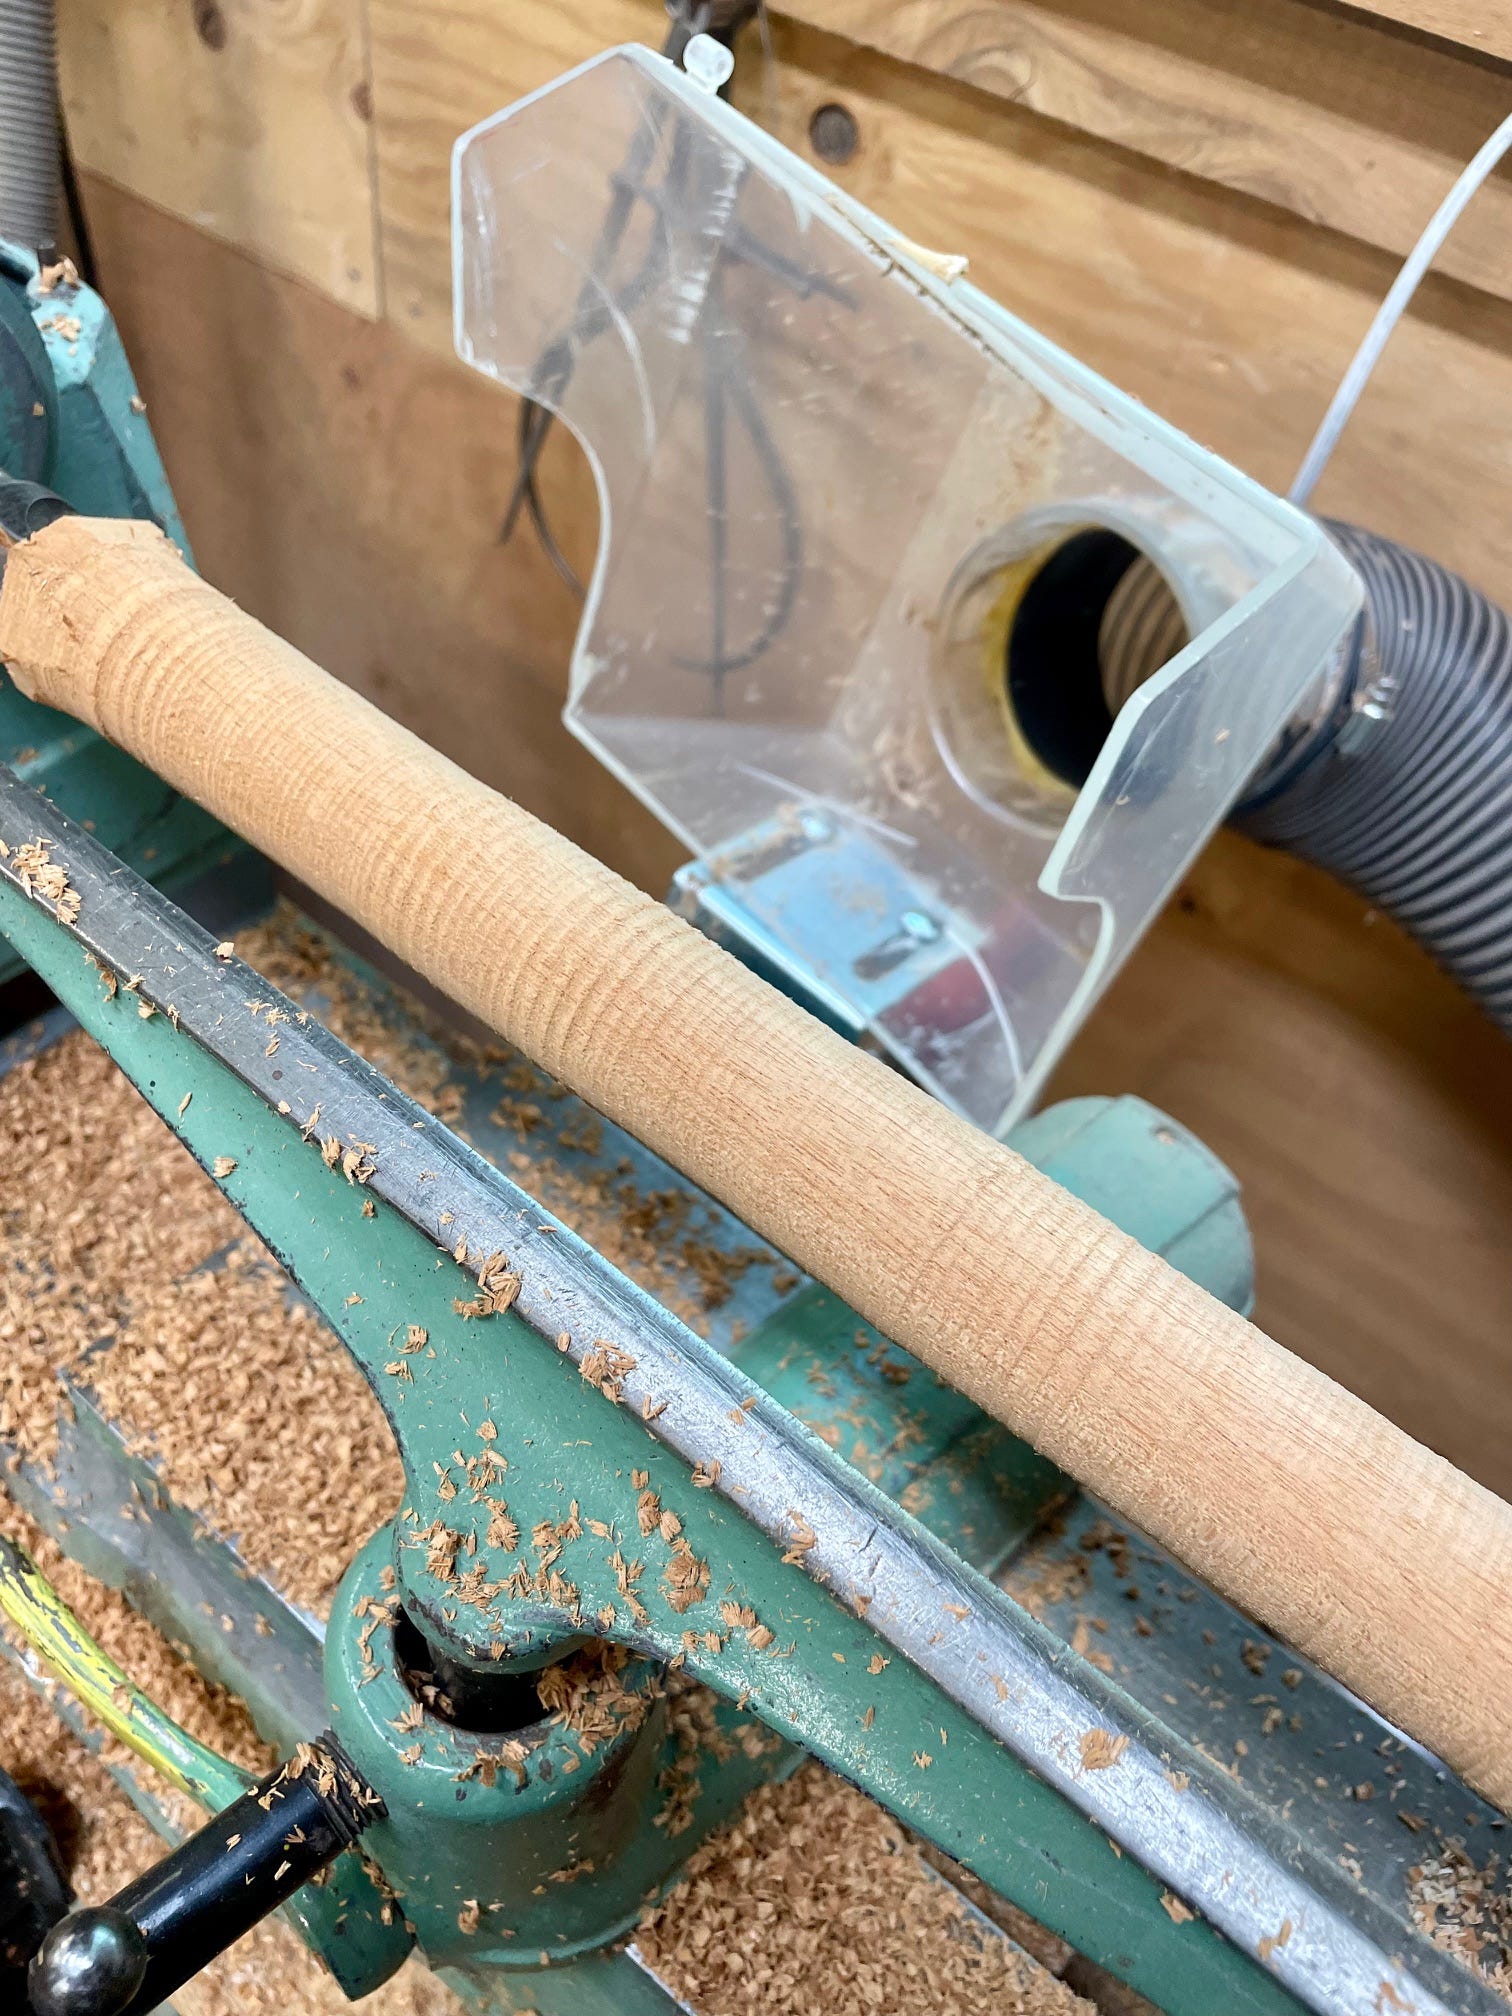
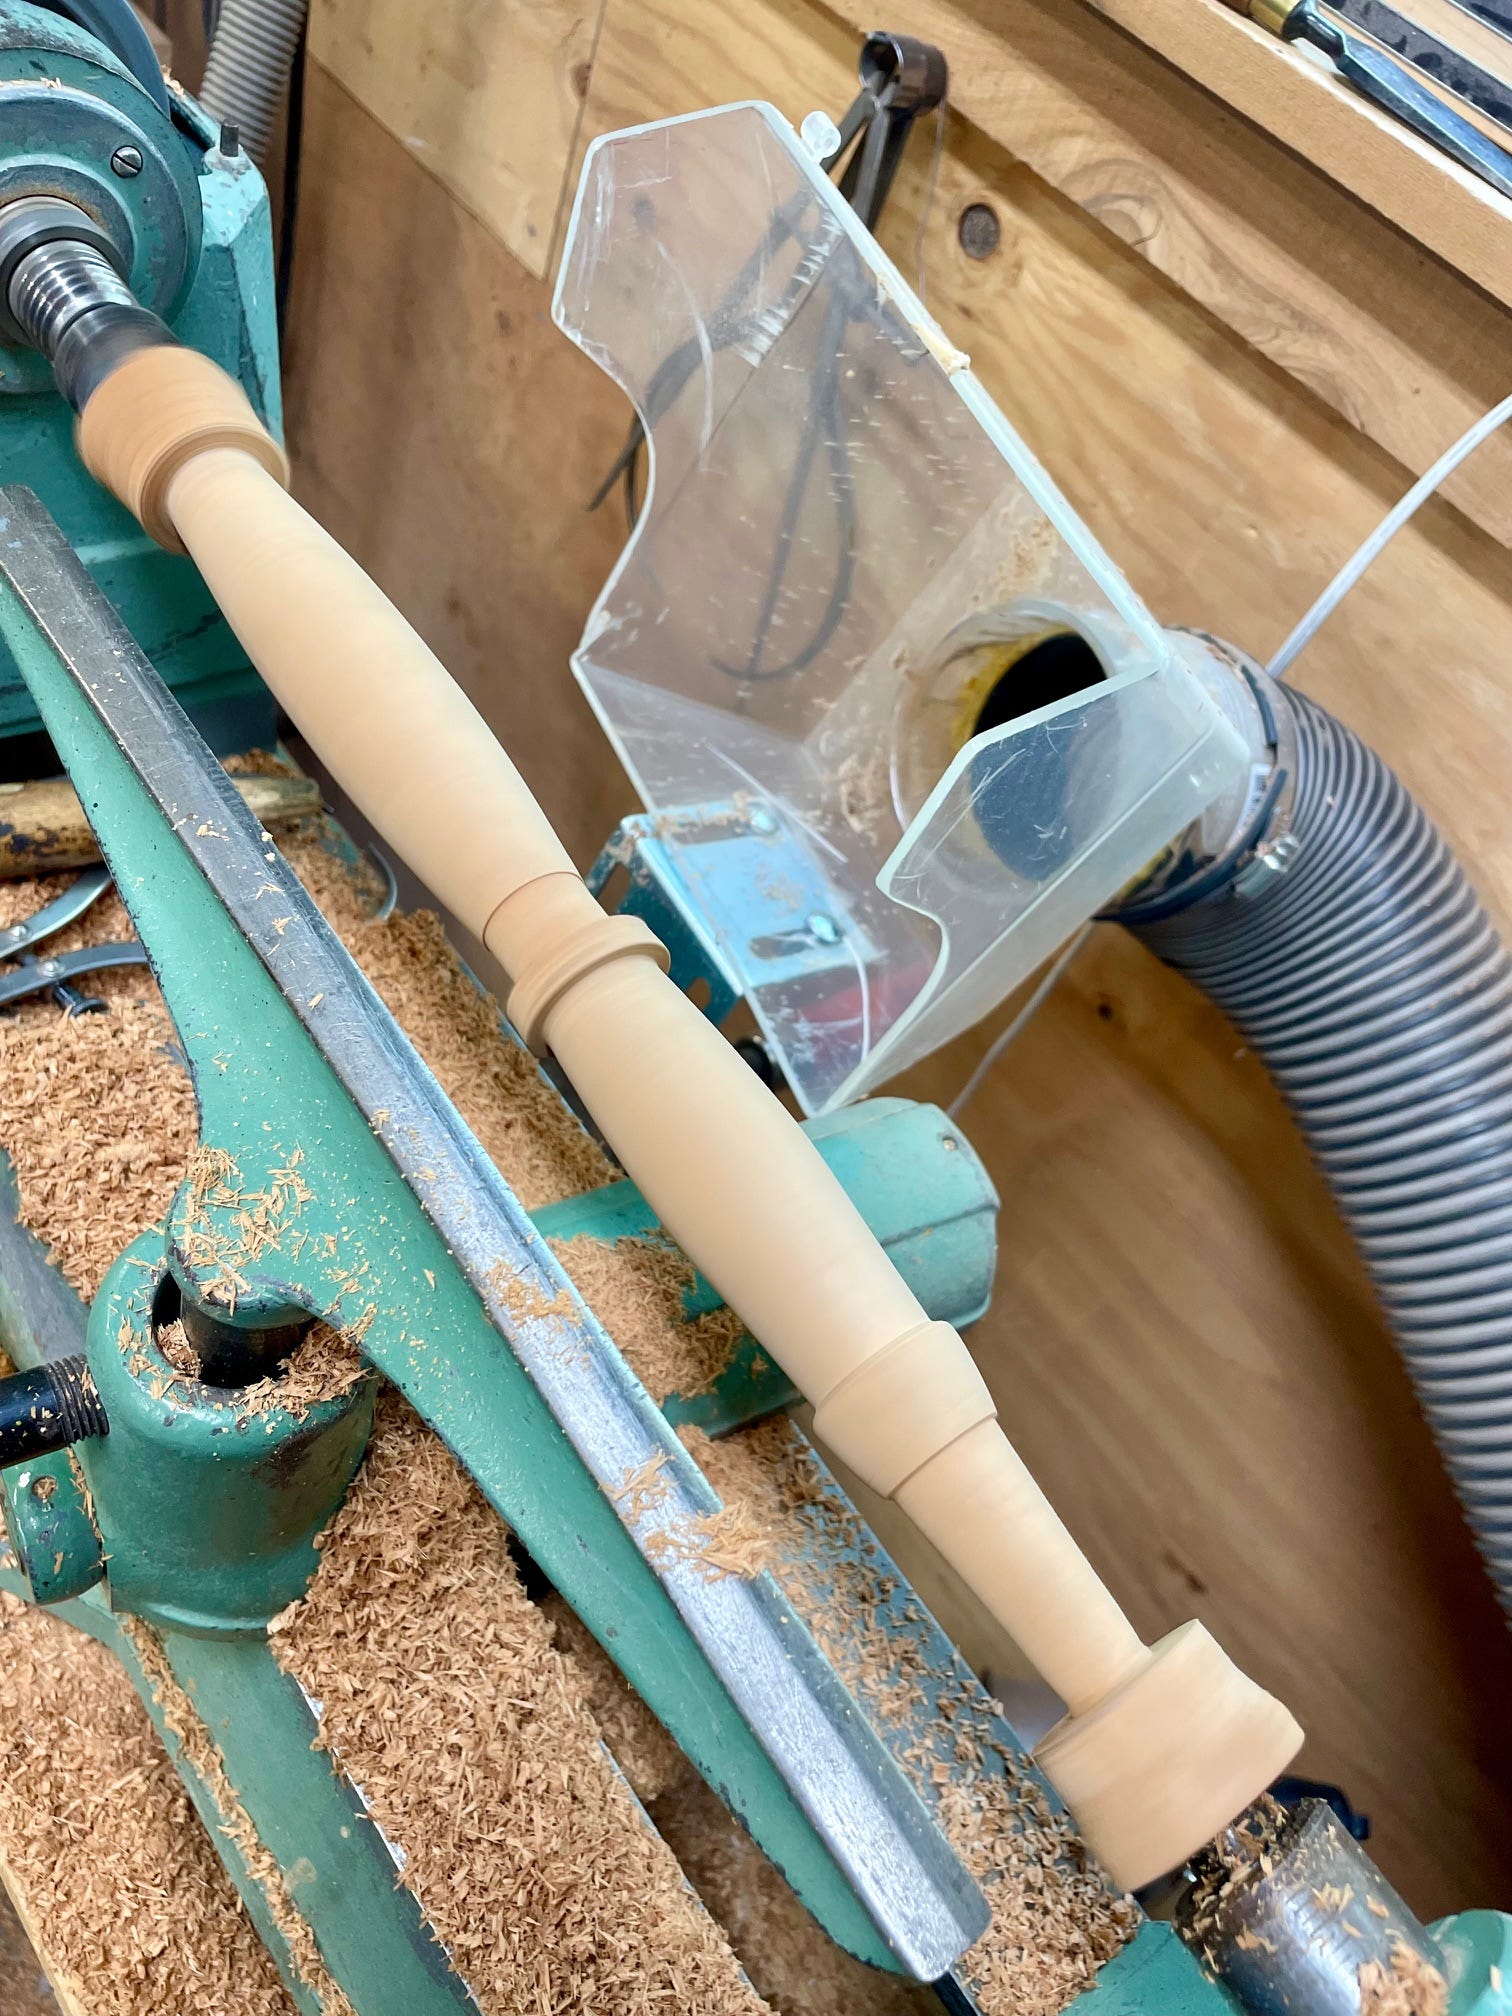
Next I mark with a pencil the important places for each chisel style. I have to transfer the needed dimensions from the sample handles with a caliper, adding a bit to the size.
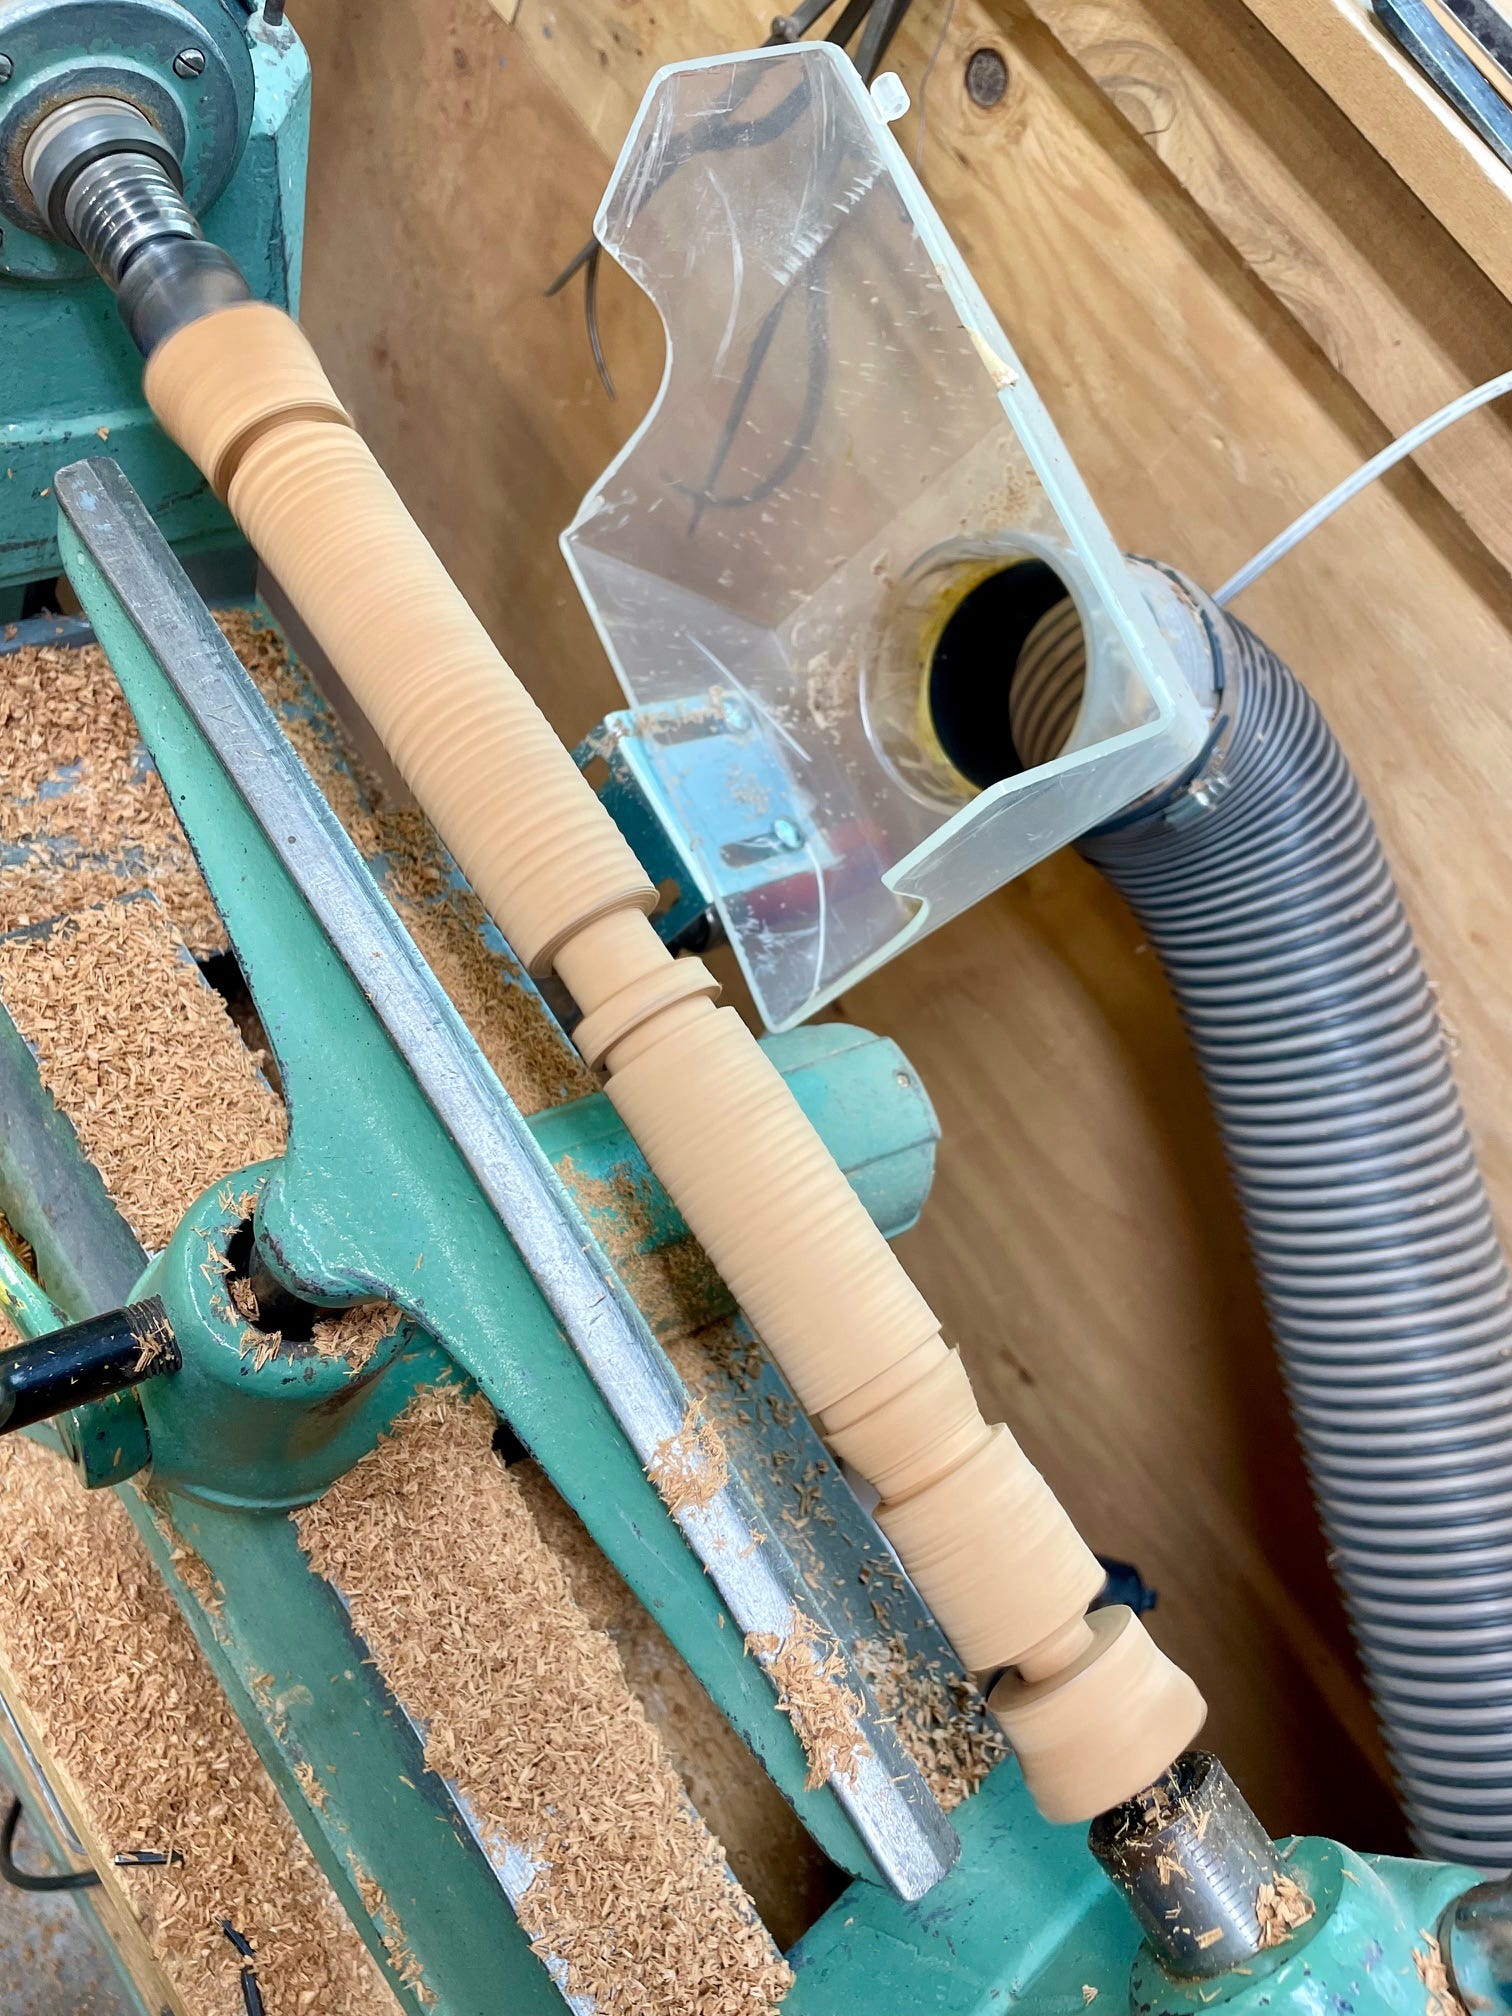
The most important parts of the handles are the areas that will interact with the metal parts: the tapered end for the socket handle and the ferrule are for the tang chisel. These take a few rounds of measuring and lightly turning with the skew chisel till they are right. A little sanding and they are ready to part off the lathe.
First, let us focus on fitting the tang chisel. For the ferrule. I just use a section of copper pipe from the hardware store. It will look different than the more traditional brass, but is cheaper and easier to get.
Keep reading with a 7-day free trial
Subscribe to Aaron Keim to keep reading this post and get 7 days of free access to the full post archives.